Tiếng Việt


Laboratory Equipment


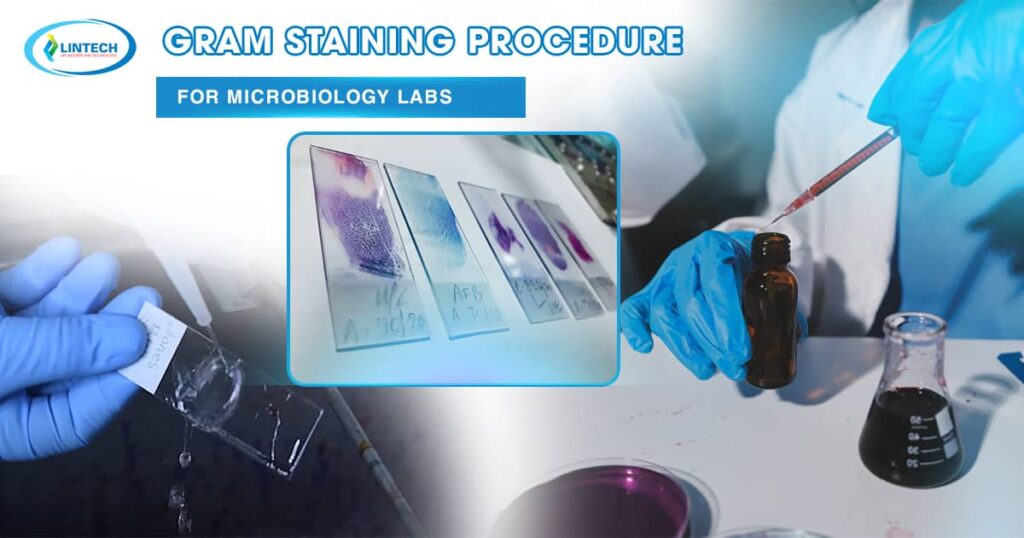
Almost every new specimen that comes into a microbiology lab starts with a Gram stain. It only takes about ten minutes and a few inexpensive reagents, yet it tells you right away whether the bacteria are Gram positive or Gram negative, what shape they are, and how they are arranged. That single piece of information often decides which media to set up and which antibiotics the clinician might consider while waiting for a final identification.This article follows what actually happens at the staining bench: which reagents to use, how long to leave them on, how to read the slide, and the mistakes that most often mess up the result.
The Gram staining procedure is a differential staining method that separates bacteria into two large groups according to cell-wall structure. In 1884 the Danish physician Hans Christian Gram was examining lung tissue in Berlin when he noticed that some bacteria kept a violet dye after an alcohol wash while others did not. Later workers, especially Hucker, refined the reagents, and the modified version is the one almost every lab uses today.

Even though molecular tests and mass spectrometry are now routine, the Gram staining procedure has not been replaced. It is fast, it works directly on clinical specimens such as cerebrospinal fluid, blood-culture broth, sputum, and wound swabs, and it gives the clinical team an early clue hours before culture results are ready.
The whole method hinges on how the cell wall responds to dye and solvent.
Gram-positive bacteria have a thick peptidoglycan layer, usually 20 to 80 nanometers. Crystal violet enters the cell; once iodine is added it forms a large crystal-violet–iodine complex. When the decolorizer is applied, the thick peptidoglycan shrinks and traps that complex inside, so the cell stays purple. 
Gram-negative bacteria are different. Their peptidoglycan layer is thin and sits between two membranes; the outer one is rich in lipids. The decolorizer dissolves much of that outer membrane, the thin wall cannot hold the complex, and the cell loses its color. It then takes up the red counterstain and appears pink to red under the microscope.
The final color is therefore not simply a property of the dyes; it shows whether the cell wall managed to keep the complex during the solvent step.
Each reagent has a specific job, and knowing it helps you troubleshoot later.
Check expiry dates before use and store reagents at 15 to 30 degrees Celsius in closed containers. Filter crystal violet if you see precipitate, because crystals on the smear can be mistaken for Gram positive cocci or rods.
Step 1: Prepare the smear
Place a small drop of saline or water on a clean slide and mix in a tiny amount of colony with a sterile loop. For liquid specimens, spread one loopful directly. The film should be thin enough that you can faintly see through it once dry. Let it air dry completely.
Step 2: Heat fix
Pass the dry slide through the flame two or three times, smear side up. It should feel warm on the back of your hand, not hot. Too much heat distorts cell shape and can make Gram positive cells stain unevenly. Methanol fixation for one minute is a good alternative for specimens with many host cells, since it preserves their morphology better.
Step 3: Crystal violet
Flood the smear and leave it for 60 seconds. Rinse gently with water. Every cell on the slide is purple at this point.
Step 4: Gram iodine
Cover the smear with iodine for 60 seconds, then rinse. The iodine locks the dye into a complex inside the cell.
Step 5: Decolorize
This step decides the result, so give it your full attention. Hold the slide at an angle and let the decolorizer run over the smear. Stop as soon as the runoff turns clear, then rinse right away. Approximate timing depends on the solvent:
Thick smears need slightly longer, thin smears less. If you are unsure, it is safer to stop a little early than to overdo it.
Step 6: Counterstain
Flood with safranin for 45 to 60 seconds (carbol fuchsin needs only about 30 seconds). Rinse with water and blot gently or let the slide air dry.
Step 7: Examine under the microscope
Start at low power to find a good area, then add a drop of immersion oil and switch to the 100x objective. Look in the thin part of the smear, where cells lie in a single layer. Record the color, shape, size and arrangement.

Reading a Gram stain is never just about color. Color is only half the story.
Morphology and arrangement narrow the possibilities quickly. Staphylococcus typically appears in clusters, Streptococcus in chains or pairs, Bacillus and Clostridium as large rods that sometimes contain spores. On the Gram-negative side you commonly see short rods of Escherichia coli and Klebsiella, slender rods of Pseudomonas, kidney-bean diplococci of Neisseria (often inside white cells), and the tiny pleomorphic coccobacilli of Haemophilus.
A few organisms behave differently. Mycobacterium has a waxy wall that resists the Gram staining procedure and needs an acid-fast stain. Mycoplasma has no cell wall at all and does not stain. Older cultures of Bacillus, Clostridium, or Acinetobacter frequently look Gram-variable, with both purple and pink cells in the same field.

Gram positive cells look pink.
The most likely cause is over decolorization. Shorten the decolorizer time or use a milder solvent mix. Other causes are very old cultures, overheated smears, or iodine that has expired.
Gram negative cells look purple.
Usually under decolorization, often on a thick smear. Make thinner films and make sure the decolorizer flows over the whole slide.
Smear washed off.
The slide was not dry before fixing, or fixation was too light. Dry completely, then fix.
Crystal debris on the slide.
Unfiltered crystal violet or dried stain. Filter reagents and keep staining racks clean.
Uneven color across the smear.
Thick spots, grease on the slide, or uneven reagent coverage. Use clean slides and flood the whole smear each time.
Pink background haze.
Excess counterstain or poor rinsing. Rinse thoroughly after safranin.
Reagents should be tested whenever a new lot is opened and at regular intervals set by your laboratory. A common approach is a control slide with Staphylococcus aureus (Gram positive) and Escherichia coli (Gram negative) smeared side by side. If the controls do not give the expected colors, do not report patient slides until the problem is found. Keep a log of lot numbers, dates and results.
It also helps to look at the specimen itself. In sputum, for example, many squamous epithelial cells suggest saliva contamination rather than a true lower respiratory sample, and the Gram stain report should say so.
Treat every unfixed smear as infectious. Heat or methanol fixation does not guarantee that all organisms are dead, especially spore formers. Wear gloves and a lab coat, work away from open skin cuts, and keep acetone and ethanol away from the open flame. Dispose of stained slides and used reagents according to your biohazard and chemical waste rules.
The Gram stain is a screening tool, not an identification test. Different species can look alike, and the result depends heavily on the person doing the stain and the person reading it. Prior antibiotic treatment can alter the appearance of bacteria or reduce their number so that none are seen. A negative smear does not rule out infection, particularly when only a few organisms are present. Always confirm findings with culture and further testing.
In meningitis, a Gram stain of cerebrospinal fluid can show organisms within minutes and guide urgent therapy. In positive blood cultures, the stain helps the team decide between empiric options before the organism is named. In wound and respiratory samples, it shows whether bacteria and white cells are present together, which supports the idea that an infection is real. It also helps microbiologists choose culture media, such as adding chocolate agar when small Gram negative coccobacilli are suspected.
What is the most critical step in the Gram staining procedure?
Decolorization. A few seconds too long or too short can reverse the apparent result.
How long should the decolorizer stay on the slide?
It depends on the solvent. Acetone needs a few seconds, an acetone alcohol mix 5 to 10 seconds, and 95 percent ethanol roughly 10 to 30 seconds. Stop when the runoff is clear.
Why do some Gram positive bacteria look Gram negative?
Culture age, antibiotic exposure, overheating, and over decolorization can all weaken the cell wall’s ability to hold the dye complex. Cultures older than 24 hours are the most common cause.
Can I use tap water for rinsing?
Yes, gentle tap water rinsing is acceptable in most labs, as long as the water pressure is low enough not to wash the smear away.
Can the Gram stain be done on any specimen?
It works on pure cultures and most direct clinical samples. Very thick or mucoid specimens, such as some sputum samples, may need to be spread thinner or pretreated.
Do I need an automated stainer?
No. A carefully done manual stain gives excellent results. Automated stainers mainly help consistency and speed in high volume labs.
The Gram staining procedure is simple, but small details such as smear thickness, fixation and decolorizing time make the difference between a clear result and a misleading one. Use fresh cultures when possible, keep timing consistent, run controls with every new reagent lot, and always read the shape and arrangement of the cells along with their color. With those habits, the Gram stain stays one of the most useful tests in the microbiology laboratory.
For a clear and practical walkthrough of the entire process, see this detailed guide on the Gram Staining